Create Windows Installation Image with Media Tool
Learn how to create a Windows installation image using the Windows Media Creation Tool. Follow these easy steps to ensure a smooth installation process and get your system up and running quickly.
4/9/20252 min read
Windows Media Creation Tool
create a Windows installation image using the Windows Media Creation Tool, follow these steps:
✅ What You’ll Need
A Windows PC with internet access.
At least 8 GB USB drive (if creating a bootable USB).
Admin rights on the PC.
🛠️ Steps to Create a Windows Image (ISO or USB)
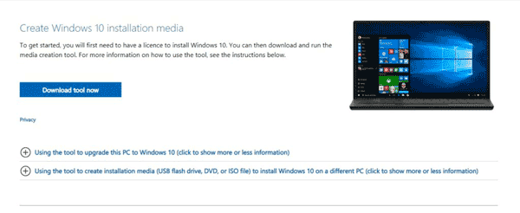
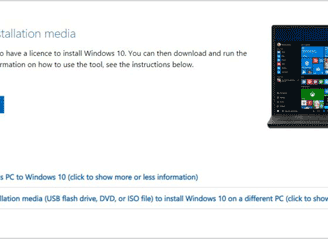
1. Download the Media Creation Tool
Go to the official Microsoft page:
👉 https://www.microsoft.com/software-download/windows10
(Or replace windows10 with windows11 if you want Windows 11)Click “Download now” under Create Windows installation media.
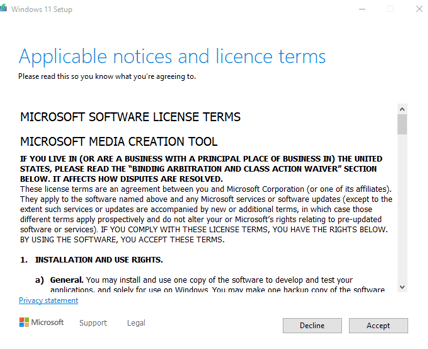
2. Run the Tool
Open the downloaded MediaCreationTool.exe.
Accept the license terms.
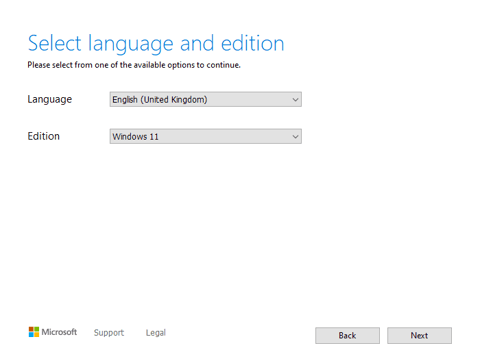
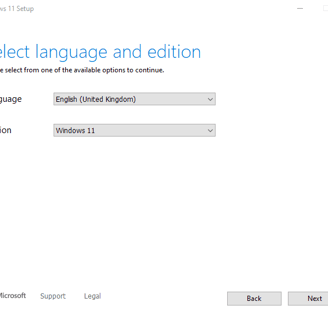
3. Choose “Create installation media”
Select:
Language
Edition (usually Windows 10 or 11)
Architecture (64-bit is common)
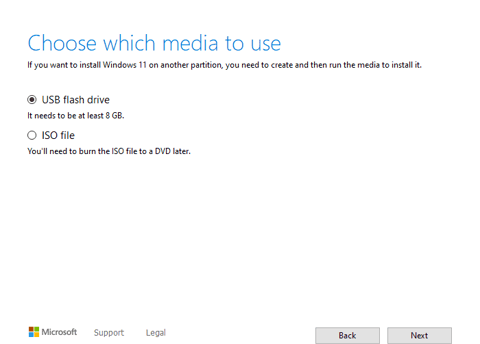
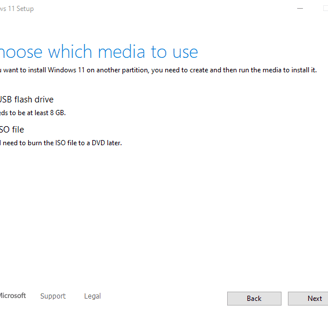
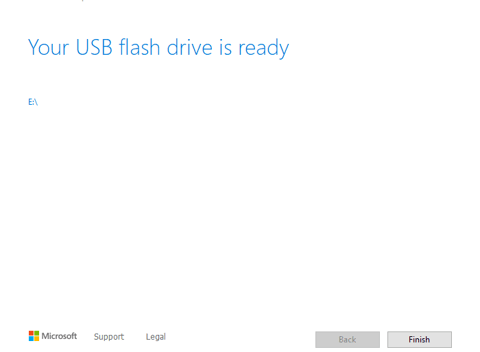
4. Choose Media Type
You’ll be prompted to either:
USB flash drive — creates a bootable USB
ISO file — creates a downloadable ISO file you can burn to a DVD later
Choose ISO file if you want to create a Windows image file.
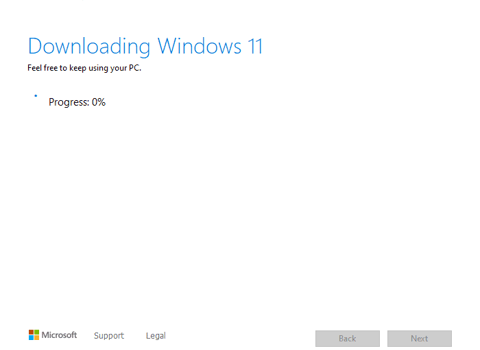
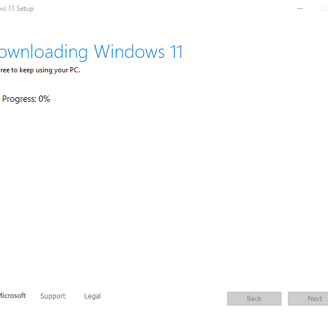
5. Save the ISO File
Pick a location to save the .iso file.
The tool will download Windows and create the ISO for you.
This may take a while depending on your connection speed.
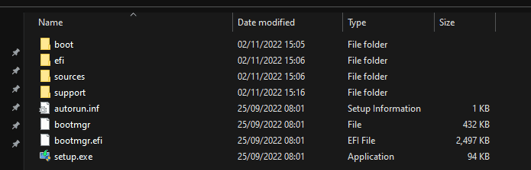
Optional: Burn the ISO to USB/DVD
If you picked the ISO file and want to install Windows:
Use tools like Rufus or balenaEtcher to make a bootable USB.
Or use Windows Disc Image Burner to write it to a DVD.

Knowledge
Connect
info@eduglow.in
+91-9313746414
© 2024. All rights reserved.